GPT image serviceGPTImage.app

Honest enlargement workflow

How to Upscale an Image Without Losing Quality

Start from the best source, enlarge only as far as the delivery size requires, and inspect the result where interpolation usually fails. This workflow minimizes added damage without pretending that missing detail can be recovered as fact.

Open the image upscaler

What “without losing quality” can honestly mean

A raster image has a fixed grid of recorded pixels. Upscaling makes that grid larger, so a resampler must calculate new pixel values between the old ones. It can preserve the composition and avoid another round of compression, but it cannot prove what an unreadable sign, soft face, or missing texture originally looked like. The practical goal is a correctly sized file that introduces as few new artifacts as possible.

GPTImage's browser tool uses canvas image smoothing and keeps the work on the device. The browser exposes a smoothing-quality setting, although support for the quality hint varies; the more fundamental smoothing switch is broadly available. The implementation therefore makes a faithful interpolation claim, not an AI restoration claim. See the official MDN canvas documentationfor the exact browser API.

Two verified before-and-after checks

These four committed files are not mockups or customer claims. Both 2x outputs were downloaded from the actual local tool using their adjacent source files. Compare edge behavior and dimensions; do not interpret the larger files as recovered scene detail.

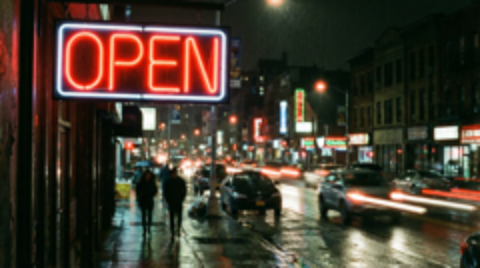
Small night photograph before browser upscaling
Photo source240 × 134 px

A deliberately reduced night photograph used to expose glow, brick texture, and compression limits.

Night photograph after a two-times browser upscale
Photo at 2x480 × 268 px

Exported through the live image upscaler at 2x with high-quality canvas smoothing; no AI detail was generated.

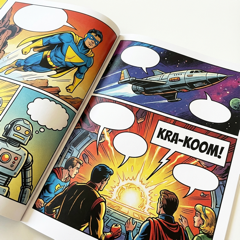
Small illustration before browser upscaling
Illustration source240 × 240 px

A transparent illustration source used to check contours, flat colors, and alpha handling.

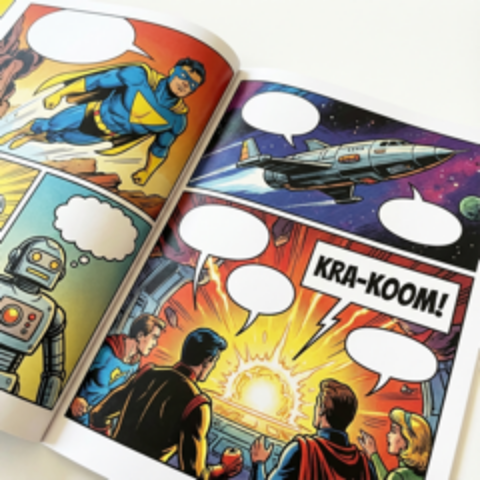
Illustration after a two-times browser upscale
Illustration at 2x480 × 480 px

Exported from the same local 2x workflow as PNG so transparency is preserved without another lossy encode.

1. Use the best original you can find

Begin with the camera export, design source, or largest saved copy. Messaging apps, social networks, and repeated JPEG saves may already have removed fine detail and added blocks around edges. Upscaling that copy enlarges those defects. Keep the original untouched and perform every comparison from it rather than scaling an earlier output again.

2. Measure the destination in pixels

Record the actual web slot, marketplace requirement, slide frame, or print pixel target. A 900-pixel-wide source does not need a 4x export for a 1,600-pixel hero; a 2x file already reaches 1,800 pixels. Choosing the smallest sufficient result reduces file size and avoids making blur, ringing, and compression blocks more visible than necessary.

3. Choose a method that matches the evidence risk

Conventional interpolation is appropriate when composition fidelity matters and a softer result is acceptable. A generative AI upscaler can create sharper-looking texture, but the created texture is a prediction. Do not treat reconstructed lettering, identity details, product features, medical imagery, or archival evidence as information recovered from the source.

Resampling choices also depend on content. Adobe documents smoother resampling for enlarging photographs and nearest-neighbor treatment for hard-edged pixel art. Review the officialPhotoshop resampling optionsbefore assuming that one algorithm suits photographs, screenshots, logos, and sprites equally.

4. Upscale once, then inspect two views

First inspect at 100% zoom, where one output pixel maps to one screen pixel. Look for halos, jagged diagonals, smeared texture, distorted small type, color fringing, and visible source blocks. Then inspect at the final delivery size. A result that appears soft at 100% may still be suitable in a smaller page slot, while a polished thumbnail can hide failures that become obvious in print or on a large display.

5. Export in the format the content needs

Use PNG for transparent images, interface captures, diagrams, or flat graphics where clean edges matter. Use a high-quality JPEG for photographs when delivery weight matters more than alpha or perfectly lossless pixels. The upscaler fills transparent pixels with white for JPEG, so keep PNG when the background must remain transparent. Export once from the finished upscale instead of repeatedly reopening and resaving a lossy file.

6. Keep a reversible handoff

Store the untouched source beside the delivered file and include the scale factor in the output name. That makes the transformation auditable and prevents a larger interpolated version from being mistaken for a higher-detail original later. If the result fails the destination check, return to the source and change the method or target; do not upscale the failed output again.

Image upscaling quality FAQ

Can you upscale an image without losing quality?

Not literally for a raster image. Enlarging requires new pixels. A careful workflow can avoid unnecessary extra damage, but conventional interpolation cannot recover detail that the source never recorded.

Should I upscale an image by 2x or 4x?

Use the smallest scale that reaches the required pixel dimensions. Start with 2x; move to 4x only when the final slot needs it and the enlarged blur or compression remains acceptable.

Which file format keeps the best quality?

PNG is useful for transparency, screenshots, text, and flat-color graphics. JPEG is usually smaller for photographs, but it adds lossy compression, so inspect fine edges before delivery.

Does this workflow use AI to restore missing detail?

No. The examples on this page use local browser interpolation. A generative AI upscaler may create plausible texture, but that texture is an estimate and can alter text, faces, products, or evidence.

Upscale from the original in your browser

Run a 2x result first, inspect it at delivery size, and use 4x only when the target dimensions require it.