
GPT image serviceGPTImage.app

Practical enlargement planning

2x vs 4x Image Upscaling: Which Scale Should You Use?

Choose 2x or 4x from the final pixel requirement, not from the assumption that a larger number restores more truth. This guide shows the exact math, a reproducible same-source comparison, and the situations where a smaller resize is the more faithful choice.

2x and 4x output dimension calculator

Enter the source dimensions. The calculator shows the exact output size and checks it against the image upscaler's 8,192px-per-side and 40-megapixel browser limits.

2x output

Within tool limits

2,400 × 1,600 px

3.8 megapixels

4x output

Within tool limits

4,800 × 3,200 px

15.4 megapixels

One source, two verified upscale settings

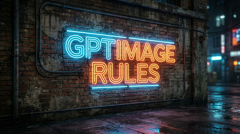
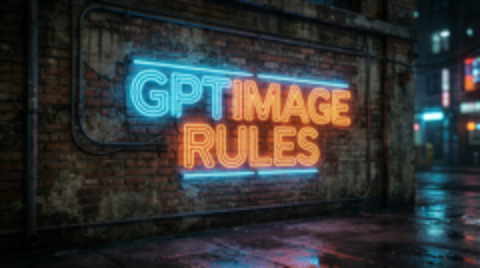
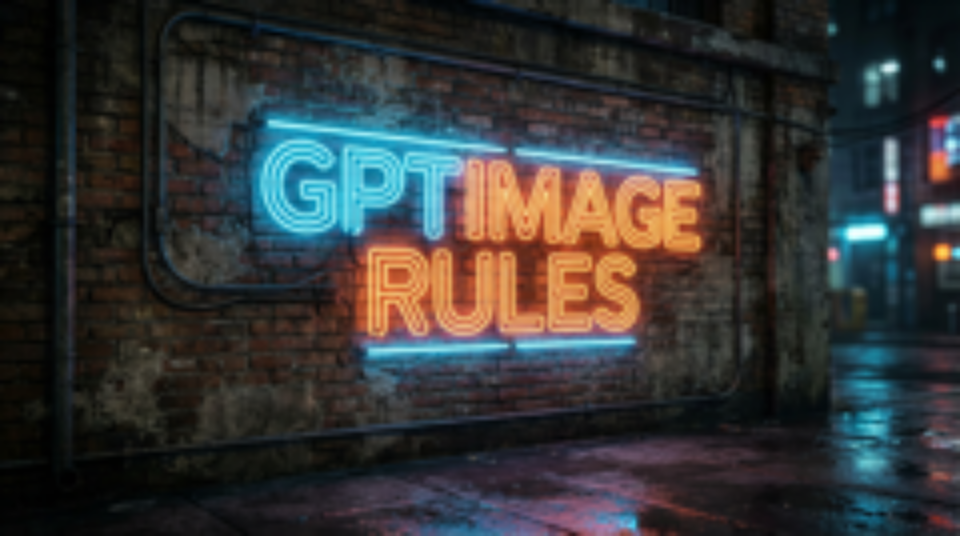
All three files below are committed with this guide. The source is a deliberate downsample; the 2x and 4x PNGs were exported through the actual browser tool. They demonstrate output dimensions and interpolation behavior, not recovered camera detail or customer outcomes.

Source neon lettering comparison at 240 × 134 px
Source240 × 134 px

Deliberately downsampled from the disclosed 1,376 × 768 source used on the image upscaler page.

2x interpolation neon lettering comparison at 480 × 268 px
2x interpolation480 × 268 px

Generated from the 240 × 134 source through the page’s local 2x browser workflow.

4x interpolation neon lettering comparison at 960 × 536 px
4x interpolation960 × 536 px

Generated from the same source and settings at 4x; it contains sixteen times the source pixel count.

How 2x and 4x change pixel dimensions

A 2x upscale doubles each axis: 1,200 × 800 becomes 2,400 × 1,600. The pixel count grows from 0.96 to 3.84 megapixels. A 4x upscale takes the same source to 4,800 × 3,200, or 15.36 megapixels. Because both axes grow, 4x produces sixteen times the source pixel count, not four.

Choose 2x when it reaches the target

Use 2x when a product image, slide, documentation screenshot, or generated illustration is already close to its required display size. The smaller operation uses less browser memory, exports a lighter file, and avoids magnifying compression blocks more than needed. Inspect the result at its intended delivery size rather than judging only a zoomed editor view.

Choose 4x for a genuinely small source

Use 4x when the source is too small for the final pixel dimensions and a faithful enlargement is more important than inventing texture. A 240 × 134 image becomes 960 × 536. That can be useful for layout tests or a larger screen slot, but the export still contains the same recorded shapes, edges, blur, and compression history as the source.

Interpolation is not generative AI enhancement

The GPTImage tool uses the browser canvas's high-quality smoothing. It estimates new color values between existing pixels but does not run a generative model. An AI image upscaler may synthesize pores, lettering, hair, or material texture. That can look sharper, yet those details may be inaccurate, so generative output needs careful review when identity or evidence matters.

Logos, UI captures, receipts, archival scans, and product details often benefit from a faithful resize because altered geometry can be worse than visible softness. If creative plausibility is acceptable, compare an AI result against the source at matching dimensions and inspect small text, faces, repeated patterns, and hard edges before publishing.

PNG or JPEG after upscaling

Export PNG for transparency, flat-color graphics, or screenshots where another lossy encoding pass would add halos around text. Choose JPEG for photographs when a smaller file matters, then inspect fine edges at the intended display size. Repeated JPEG saves compound artifacts, so keep the best available source and export only once at the final dimensions when possible.

A six-step scale-selection workflow

  1. 1

    Record the final pixel target

    Measure the intended display or delivery slot before opening the source.

  2. 2

    Check the source dimensions

    Use the original file, not a compressed copy from chat or social media.

  3. 3

    Calculate both outputs

    Multiply width and height by two and four; check total megapixels too.

  4. 4

    Choose the smaller sufficient scale

    Prefer 2x when it already meets or slightly exceeds the target.

  5. 5

    Inspect known failure points

    Zoom into text, faces, diagonal edges, gradients, and compression blocks.

  6. 6

    Export once and keep the source

    Save the original separately so later edits do not compound resampling.

2x vs 4x image upscaling FAQ

Does 4x upscaling create four times as many pixels?

It multiplies width and height by four, so total pixel count increases sixteenfold. A 1-megapixel source becomes roughly 16 megapixels.

Is 2x or 4x better for image quality?

Use the smallest scale that reaches the output dimensions you need. A 4x file is larger, but conventional interpolation cannot verify detail missing from the source.

Is this comparison using AI-generated detail?

No. The shown 2x and 4x outputs come from the image upscaler page's local browser interpolation and do not add generative AI detail.

Will 4x fix a blurry or compressed image?

It enlarges the blur and artifacts along with the useful content. Start from a better original when possible; use AI enhancement only when estimated detail is acceptable.

Which format should I download?

Use PNG for transparency, screenshots, or flat graphics. Use high-quality JPEG for photographic content when a smaller file is more useful.

Run the comparison with your own image

Open the same source at 2x and 4x, compare both at the final display size, and keep the smaller output when it already meets the requirement.