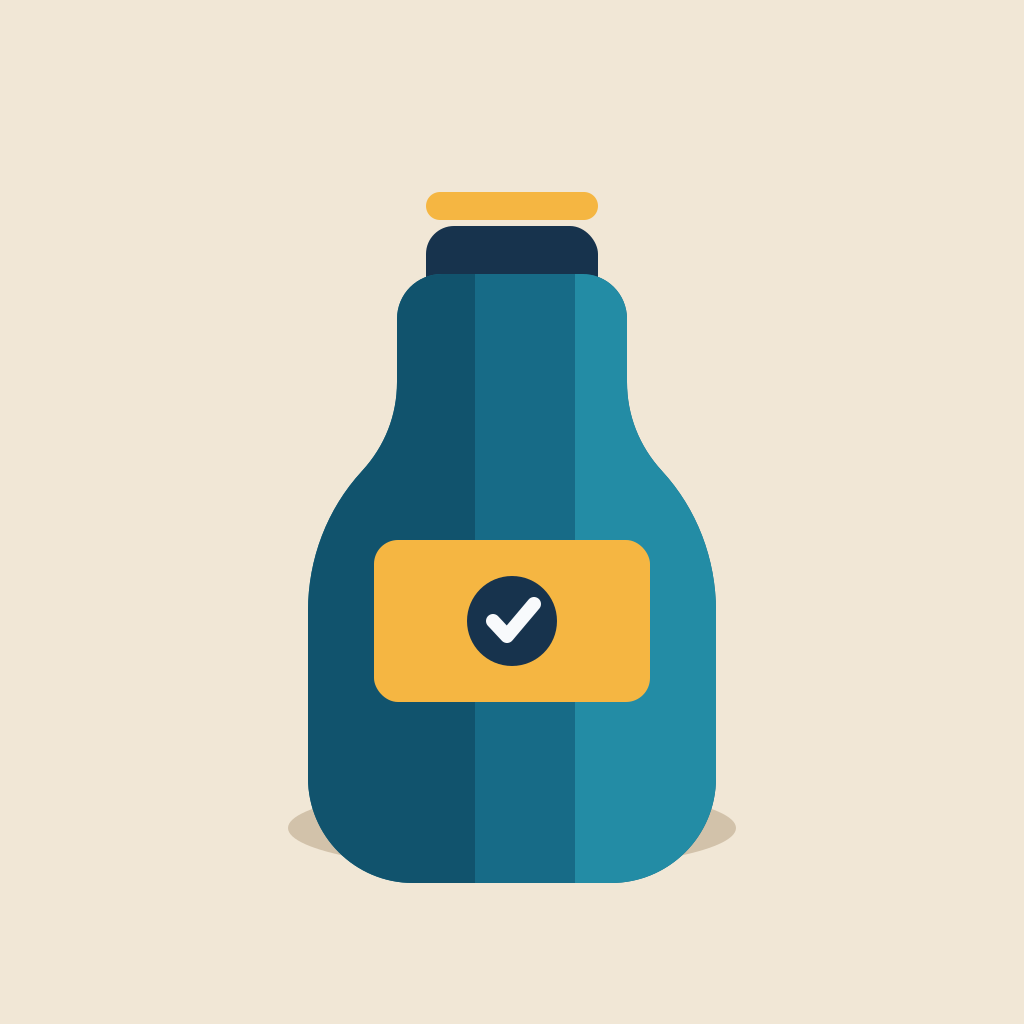

Checkerboard
Confirms which pixels are transparent. The displayed PNG was downloaded from this workflow.
 GPTImage.app
Remove a simple background from a product photo, logo, or graphic and download a transparent PNG. The tool samples the image corners, keeps removal connected to the outer edge, and processes the file on your device.
JPG, PNG, or WebP · up to 20 MB
Switch the preview surface to inspect transparent edges.
The product bottle below is a rasterized copy of the included SVG diagnostic source with a uniform cream background. It is the same PNG loaded by the sample button. Run it with tolerance 50 and feather 8, then compare the downloaded PNG on three surfaces. These are reproducible tool states, not invented customer results.
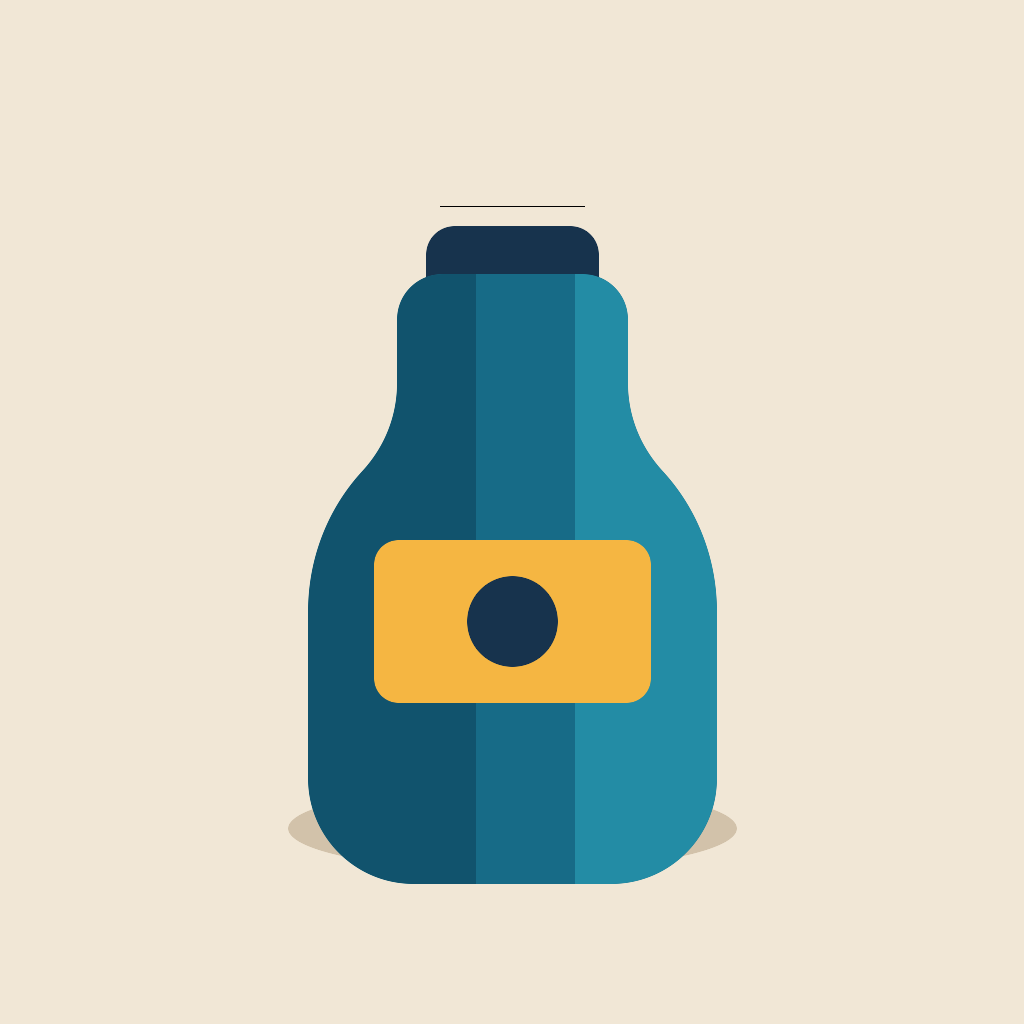
Confirms which pixels are transparent. The displayed PNG was downloaded from this workflow.
Checks pale halos for marketplace use. The displayed PNG was downloaded from this workflow.
Makes bright edge contamination easier to spot. The displayed PNG was downloaded from this workflow.
Need the complete export and three-surface inspection workflow? Follow thetransparent background guidebefore preparing the final asset.
Choose a JPG, PNG, or WebP in which the subject is separated from the corners. The file is decoded locally and is not sent to an upload endpoint.
Start with tolerance 58. Raise it if background remains; lower it if the subject starts disappearing. Feather adds partial transparency to similar edge colors.
Inspect the cutout on checkerboard, white, and dark surfaces. Download the transparent PNG only after the subject edge looks acceptable on each one.
Capability boundary
The algorithm averages small samples from all four corners, finds nearby colors, and removes only matching pixels connected to the outer edge. That connection rule helps protect an enclosed white logo or highlight inside the subject. It is deterministic color processing, not a claim that an AI model understands every object.
Product shots on white, gray, or other simple studio surfaces are the best fit. A busy room, foliage, motion blur, transparent glass, smoke, fur, or hair crossing the corner can require manual masking or a dedicated segmentation editor. Keep the source so you can compare every altered edge.
A transparent master makes it easier to reuse one product cutout in a store card, comparison chart, presentation, or social post. Export the cutout once, then place it over the exact background required by each channel instead of repeatedly erasing a baked-in color.
Before publishing, view the edge on white and dark surfaces, confirm that product details have not become translucent, and check the destination platform’s size and background rules. Transparency does not fix a low-resolution source; resize only after the cutout is approved.
The standard workflow reads and edits pixels with your browser canvas. There is no upload request in the tool. Closing the tab removes the working preview, while a file you explicitly download remains on your device under your browser’s normal settings.
Images are capped at 20 MB, 8,192 pixels on either side, and 4 megapixels in total. Those guardrails reduce memory failures on phones and older laptops. Processing time still depends on pixel count, so use the smallest source that preserves the detail your final layout needs.
No. File reading, background detection, preview, and PNG creation happen in your browser during this workflow.
Solid or gently varying backgrounds work best, especially when the subject does not touch the image corners. Busy scenes and fine hair usually need a dedicated segmentation editor.
PNG stores transparent pixels. JPEG does not support transparency and would replace the removed area with a solid color.
Yes, if you own or have permission to edit the source image. Preview the cutout on both light and dark backgrounds before publishing it.
Lower the background tolerance and run the remover again. If the subject shares the background color or touches a corner, use a manual masking editor for a controlled edge.
Enlarge an approved cutout for a larger layout, or remove unwanted lettering before you prepare the final transparent asset.