
Practical image workflow
Remove Background Before or After Upscaling
Test both orders on the same image before choosing a workflow. Here, one synthetic source goes through the actual browser tools twice: cut out then enlarge, and enlarge then cut out. Neither order is a universal winner.
Open background removerReproduce the examples
Download each source and compare your result with the actual tool output. The colored display surface is behind the PNG; it is not added to the downloadable file.
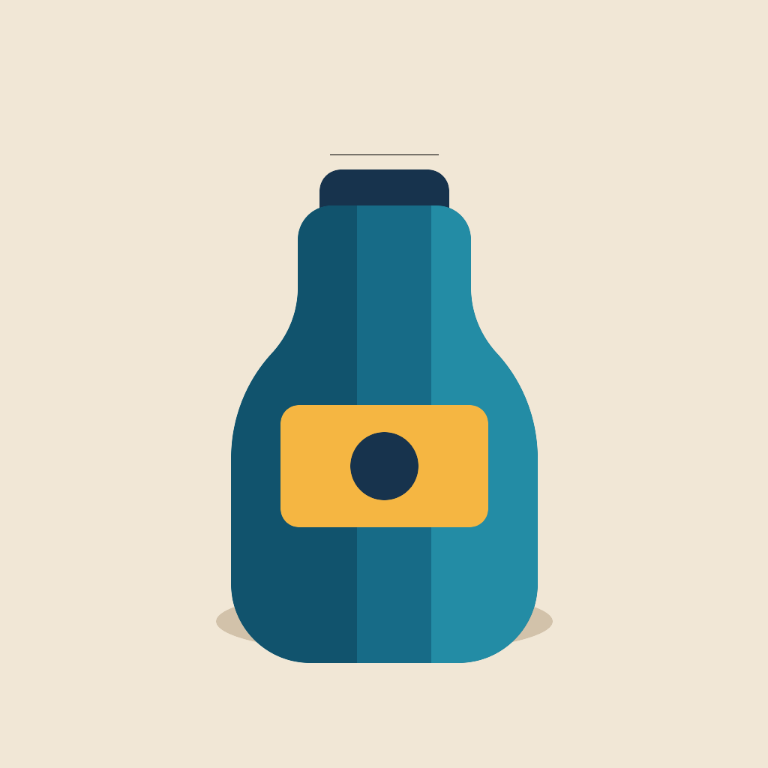
Original diagnostic
768 × 768 synthetic source; no customer or photographic claim.
Download Original diagnostic
Route A intermediate
Original-size cutout: tolerance 50, feather color range 8.
Download Route A intermediate
Route A final
Actual download: remove background, then 2× PNG enlargement.
Download Route A final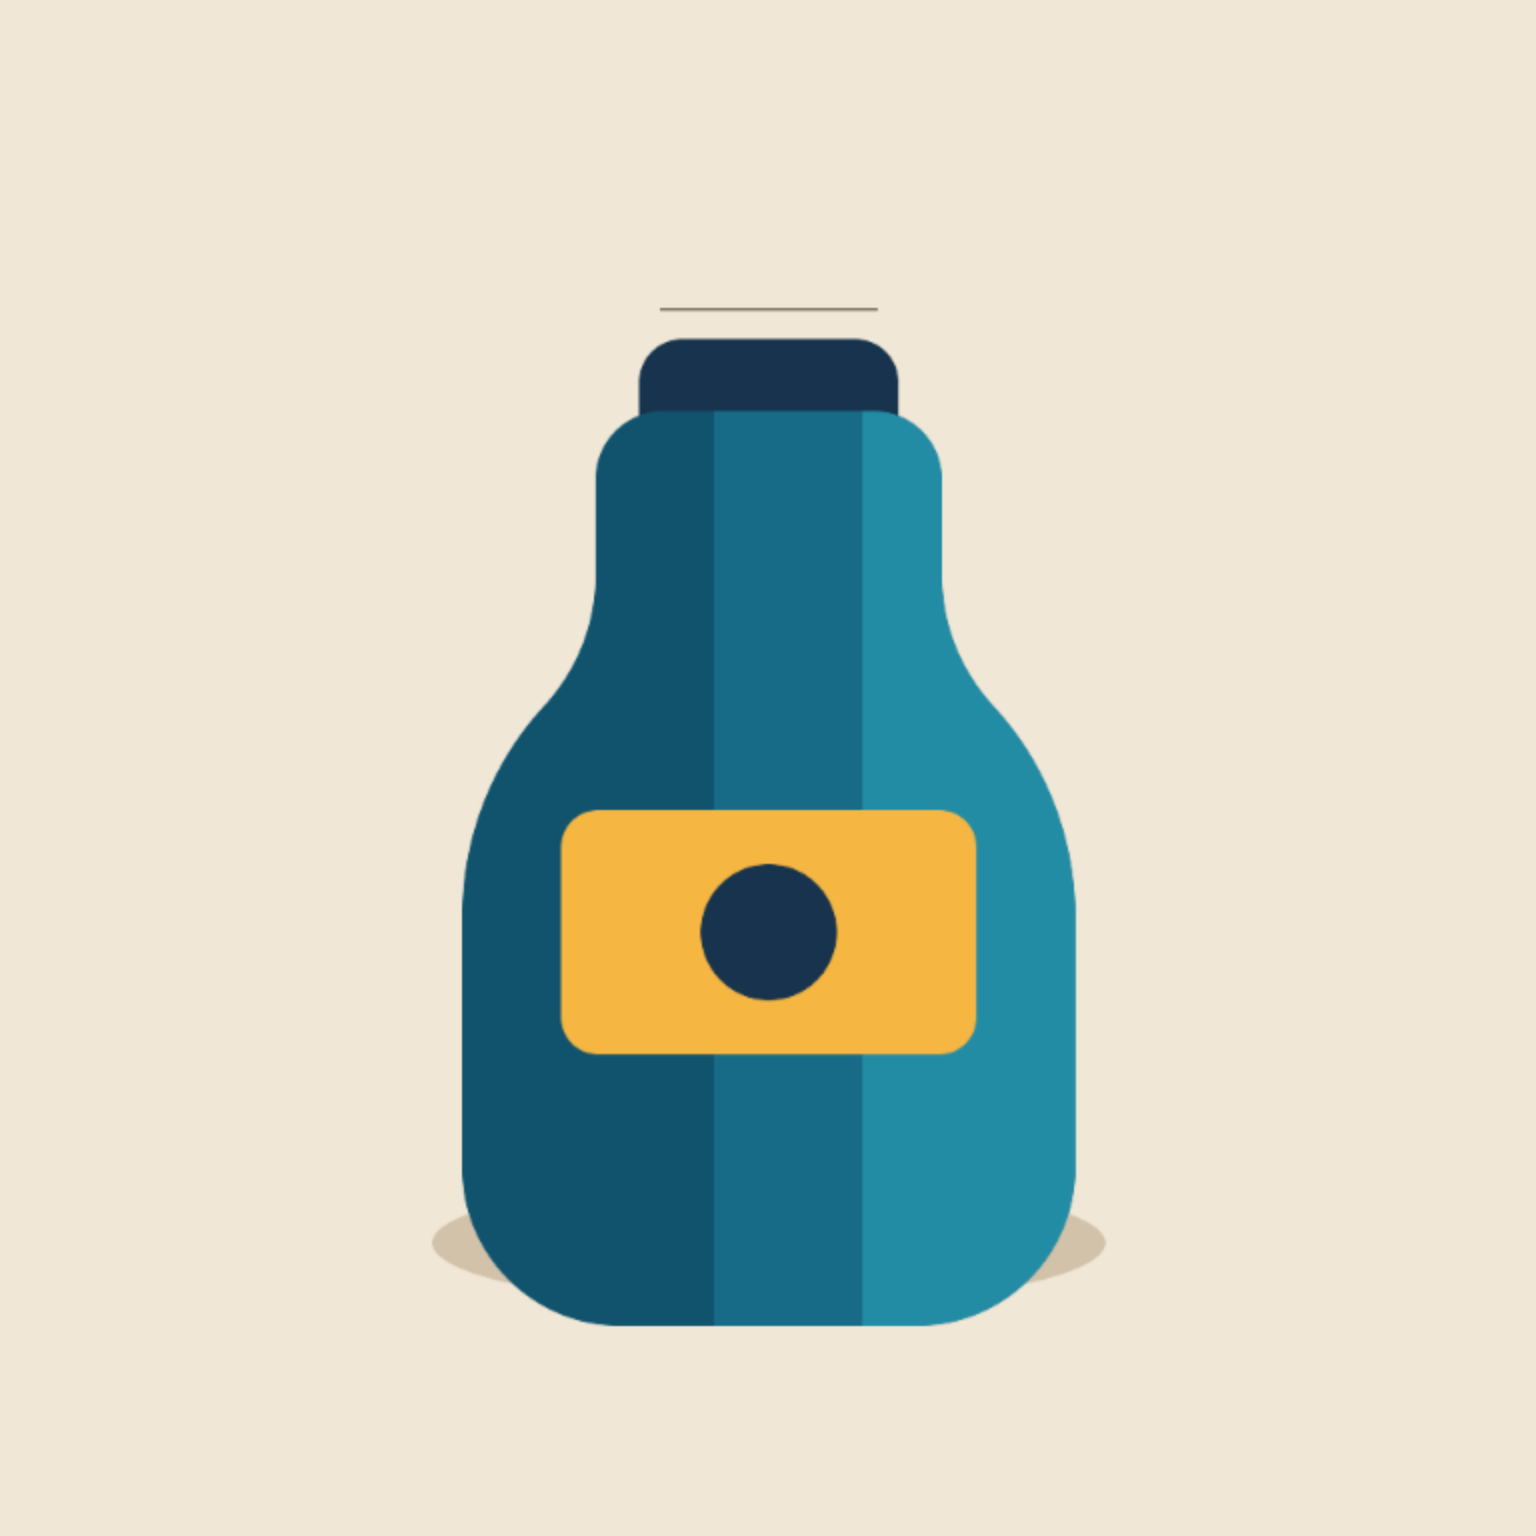
Route B intermediate
Opaque 2× PNG enlargement of the untouched source.
Download Route B intermediate
Route B final
Actual download: 2× enlargement, then the same removal settings.
Download Route B final1. Start with a source you can compare
Keep the original PNG unchanged and choose the final pixel dimensions before editing. Our source is a 768 × 768 synthetic bottle diagnostic resampled from the original 1024-square drawing, with a simple background, not a customer photograph. The two final files are both 1536 × 1536. Compare them at the same zoom and on the same background; a larger preview is not evidence of a cleaner cutout. For your own image, mark three things that must survive, such as a pale highlight, a narrow neck and a label edge.
2. Route A: remove, then upscale
Upload the original to the background remover. Set tolerance to 50 and edge feather to 8, process it, and download PNG. Upload that downloaded cutout to the image upscaler, choose 2× and PNG, then download again. This route makes the cutout decision on the original grid. The enlargement resamples the already transparent boundary, so its partially transparent edge may spread across more output pixels. Keep the intermediate cutout to identify which step introduced a defect.
3. Route B: upscale, then remove
Return to the untouched original. Enlarge it 2× and export PNG. Upload this enlarged opaque image to the remover, use the same tolerance 50 and feather 8, and download the cutout. Resampling now happens before the color test. Colors near a boundary may be blended differently, so the remover can accept a different set of connected pixels even though the numeric settings match Route A. Do not reuse Route A’s cutout as the input for this route. Check the pixel budget first: the remover accepts at most 4,000,000 pixels. A 1024-square source enlarged 2× would exceed that limit; our 768-square source stays within it.
4. Understand what the controls actually measure
The remover samples corner colors and visits similar pixels connected to the image boundary. Tolerance measures RGB color distance. Feather 8 is an additional color-distance transition that changes alpha; it is not an eight-pixel-wide spatial blur, despite the current control’s “px color range” label. Keep it at 8 in this comparison rather than doubling it for 2× output. Upscaling also changes what fits inside the five-pixel corner samples, another reason that identical slider values do not guarantee identical masks.
5. Inspect the final files, not just removed area
Open both final PNGs on dark and light backgrounds in the transparent PNG checker. At 100% zoom, examine the bottle shoulder, pale edges and contact shadow. A larger transparent region can mean either cleaner background removal or missing subject pixels. Look for a light fringe on dark, a dark fringe on white, jagged contours and lost highlights. The gallery deliberately uses contrasting display surfaces; those surfaces are not baked into the downloadable files.
6. Choose the route that preserves your subject
If both files preserve the required details, choose the one whose edge works on your intended destination background. If one loses a pale feature, return to the source and lower tolerance, then rerun both routes with the revised setting. If neither works, use a manual mask or a better-separated source. This tool is not semantic segmentation: busy scenes, glass and fine hair can fail in either order. More pixels do not add object understanding.
7. Keep an alpha-preserving master
Save the approved final PNG plus the original. Reopen the final file after any later conversion; JPEG does not retain a transparent background. The site’s image upscaler uses browser interpolation, not an AI reconstruction model, and browser versions may produce different edge pixels. These downloadable results verify this particular workflow and source only. If you switch to another upscaler, first test whether it preserves alpha, then repeat the comparison rather than assuming these results transfer.
Questions before exporting
Should I always remove the background first?
No. Compare both routes at equal final dimensions and choose the one that preserves your subject and its edge on the destination background.
Should I double feather when I double the image size?
Not for this remover. Its feather setting is a color-distance transition, not a spatial pixel radius. The comparison holds it at 8 for both routes.
Does the upscaler recover details with AI?
No. This browser tool resamples the existing image. It cannot prove or recover missing original detail.
Why can white holes inside a subject remain?
The remover follows colors connected to the image boundary. Enclosed light areas can remain opaque; use a manual mask if those areas must be transparent.